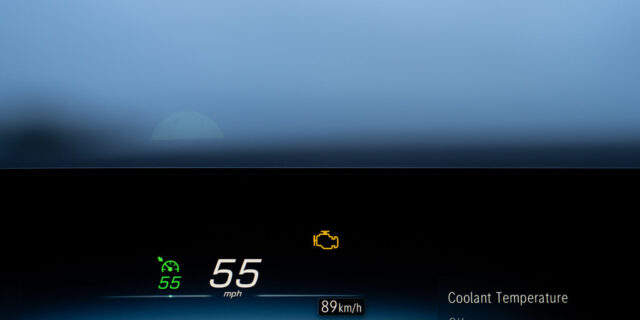
I was halfway home from a Saturday hardware store run when the check engine light came on in my pickup. No shake, no noise, no smell. Just that little amber engine glowing at me. I’d filled up twenty minutes earlier at a station where I was juggling a phone call, a coffee and a pump that kept clicking off.
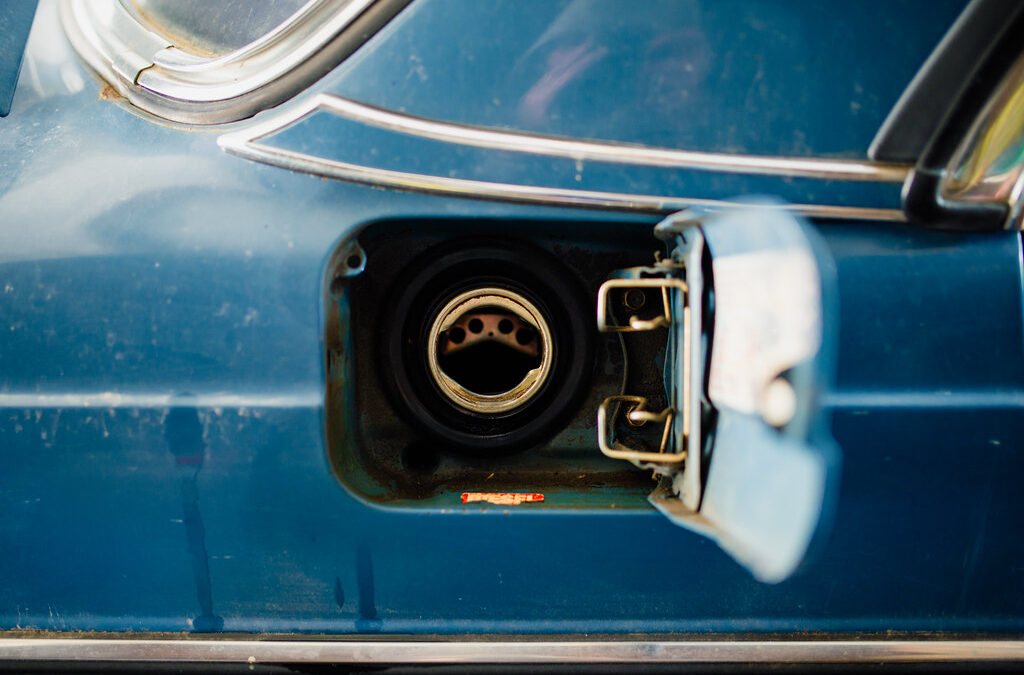
When I got home I walked straight to the fuel door. The cap was on, but it had stopped one click short. Most of the time that’s the whole story. Not always, though. So here’s the order I check things when the light comes on right after a fill-up, starting with the free stuff.
Shop notes
- symptom: light on within a day of fueling, car runs normally. Likely cause: gas cap loose or not clicked tight.
- symptom: light returns after tightening the cap. Likely cause: worn cap seal or damaged filler neck.
- symptom: fuel smell near the rear of the car. Likely cause: leak in the filler neck, EVAP lines or fuel lines.
- symptom: hard to fill, pump keeps clicking off. Likely cause: blocked EVAP vent, often a vent valve or canister issue.
Step 1: Check the Gas Cap
Your fuel system is sealed. The engine computer runs tests to make sure fuel vapor isn’t escaping. A loose cap lets air in, the test fails, and the light comes on. It’s one of the most common reasons for a check engine light after fueling.
- Park and turn the engine off.
- Open the fuel door and remove the cap.
- Look at the rubber seal. It should be soft, smooth and unbroken.
- Wipe the seal and the filler neck lip with a clean rag. Grit on either surface can stop a good seal.
- Reinstall the cap and turn it until it clicks. Many caps click several times. That’s fine.
If your car has a capless filler, there’s no cap to tighten. Look for debris holding the flap open. Some owner’s manuals describe a cleaning procedure using a special funnel. Follow the one for your vehicle.
Signs the cap itself is bad
- The seal is flattened, torn, dried out or has a split in it.
- The cap won’t click, or spins freely.
- The tether is broken and the cap has been dropped on pavement.
- The cap is an off-brand replacement that doesn’t seat well.
Gas caps are cheap. If yours is old or damaged, replace it with one that matches your vehicle. Some aftermarket caps don’t seal as well as the original. I keep the receipt in the glovebox, because a cap is easy to forget you already replaced.
Step 2: Give It Time
Here’s what surprises people. Tightening the cap doesn’t turn off the light right away. The computer needs to rerun its EVAP self-test, and that test only runs under specific conditions.
- The fuel level usually needs to be in a middle range, not full or nearly empty.
- The engine often needs to start cold after sitting for several hours.
- Outside temperature needs to be within a certain range.
So drive normally for several days. If the cap was the only issue, the light should go out on its own after enough passing tests. That can take a few days or about a week of normal driving, depending on the vehicle.
Some cars also show a “Check Fuel Cap” message on the dash. That message often clears sooner than the engine light. Don’t read too much into which one goes off first.
Don’t keep topping off after the pump clicks off. Overfilling can push liquid fuel into the EVAP system, which isn’t designed for it. That can damage the charcoal canister over time.
Step 3: Read the Code
If you have a code reader, or you stop by a parts store, read the code. It tells you whether you’re really chasing an EVAP problem.
Codes that usually point to EVAP
- P0455: large leak detected. A loose or missing cap is a common cause.
- P0456: very small leak detected.
- P0442: small leak detected.
- P0457: leak detected, fuel cap loose or off. Not all vehicles use this one.
- P0440, P0446, P0449: EVAP system or vent problems.
Some makers also use their own EVAP codes. Look up the code for your exact vehicle. If the code isn’t EVAP-related at all, the timing with your fill-up may be a coincidence. Diagnose it like any other code.
Write the code down before anything clears it. If the light goes out and comes back weeks later with the same code, that history matters. A shop can use it to skip a few steps.
Also check for pending codes. A pending EVAP code that shows up again after you replaced the cap tells you the leak is still there. It warns you before the light even comes back on.
Step 4: Inspect the Filler Neck
If the cap is good and the code comes back, look at what the cap seals against. The filler neck is the metal or plastic tube that runs from the fuel door to the tank.
- Look at the sealing lip where the cap seats. Rust, dents or damage there can stop a good cap from sealing.
- On older vehicles, especially in road salt country, filler necks rust from the outside.
- Look under the car where the neck meets the tank. Check hoses and clamps for damage.
- Smell for raw fuel. A dry, rusty neck with no smell is different from one that’s wet.
A good light makes this easier. I use a flashlight and a small inspection mirror to see the back side of the lip. Run a fingertip around the edge. Rough pitting you can feel is a sign the neck may not seal, even with a new cap.
Any time you see wet fuel or smell it strongly, stop there. Fuel leaks are a fire hazard and a job for a professional.
Step 5: Consider the Rest of the EVAP System
If the cap and filler neck check out, the leak or fault is somewhere else in the EVAP system. Here’s what’s in there on most vehicles.
- Charcoal canister: stores fuel vapors. Can get damaged by liquid fuel from overfilling.
- Purge valve: lets the engine draw stored vapor in to burn. A stuck-open purge valve is a common fault, and it can make a car hard to start right after fueling.
- Vent valve: lets fresh air in and seals the system during tests. A stuck one can cause slow fueling or leak codes.
- Hoses and lines: can dry out, split or get chewed by rodents.
How shops find small EVAP leaks
The standard method is a smoke test. A machine pushes harmless smoke into the EVAP system, and the technician looks for where it escapes. It’s fast and precise. A small leak is hard to find by eye, and guessing gets expensive.
If your car was hard to start right after filling up, mention that to the shop. It points them toward the purge valve. Tell them about slow fueling too, since that points toward the vent side instead.
Step 6: Fix the Fueling Habits That Cause It
Once the light is out, a few habits keep it from coming back. None of them cost anything.
- Stop at the first click. The pump shutting off means the tank is at its designed level. Squeezing in more is how canisters get soaked.
- Turn the engine off before fueling. Some EVAP tests and leak checks can be thrown off when the cap is opened with the engine running.
- Click the cap every time. Make it a habit to listen for the click before you close the fuel door.
- Keep the cap off the ground. Hang it on the fuel door hook or let the tether hold it. Dirt on the seal causes leaks.
- Check the seal when the season changes. Cold weather stiffens old rubber, and that’s when marginal caps start to fail.
My pickup hasn’t thrown an EVAP code since I quit topping off. That’s not a study, just one driveway. But it’s cheap insurance.
Related checklistHow to Read Check Engine Codes With a Cheap OBD2 Scanner
Related checklistCheck Engine Light Flashing? Pull Over First, Then This
Tow or go?
| What you notice | Likely cause | Verdict |
|---|---|---|
| Steady light after fueling, runs normally | Loose or worn gas cap | Go: tighten or replace the cap, drive normally |
| Light keeps returning, EVAP code | Filler neck, hose or valve leak | Soon: smoke test at a shop |
| Hard start right after every fill-up | Stuck-open purge valve | Soon: have it diagnosed |
| Strong fuel smell or visible drip | Fuel leak | Stop: don’t drive it, get professional help |
When to hand it to a shop
- You smell fuel or see any fuel on the ground.
- The light comes back after a new cap and several days of driving.
- The car is hard to start right after fueling.
- The pump keeps clicking off and the tank is slow to fill.
- Your state emissions test is coming up and the monitors won’t set.
FAQ
Can I clear the code after tightening the cap?
You can, but it resets your readiness monitors. If you have an emissions test soon, you may be better off letting the light go out on its own after the system passes its self-test.
Is it safe to drive with an EVAP code?
A steady light from a loose cap with no fuel smell is usually safe to drive while you sort it out. Any fuel smell or leak changes that answer.
Could bad gas turn on the light?
Contaminated fuel can cause misfires and rough running, which can set codes. A loose cap after fueling is far more common. Read the code before blaming the gas station.
Do I need the factory gas cap?
Not necessarily, but use a cap made for your exact vehicle. A poor-fitting cap can keep setting leak codes.
Pit-Stop Summary
The 30-Second Version
- Check the gas cap seal and tighten it until it clicks.
- Drive normally for several days so the system can retest.
- Read the code. EVAP leak codes point to the cap, neck or hoses.
- Inspect the filler neck for rust or damage.
- Smell fuel or still have the code? Get a smoke test at a shop.